Building a Granular Synth in Swift
It should perhaps be mentioned at the outset that there are reasons to avoid Swift in the audio thread. I believe we manage to sidestep the pitfalls below, but let us say it here: caveat emptor. Also, it should be noted that this is an experiment in a sort of live coding. Mistakes are made along the way, so do feel free to skip ahead in the repo and avoid copying blindly.
Whenever I see a collection of points, I think of grains, and when I think of grains, I want to build synths. While foraging through WWDC videos I bumped into the recent AVAudioSourceNode , and this was the final push I needed. The node that should have been there all along. No more dicking with AudioUnits.
It seems silly to write grain code yet again, after having written it perhaps thrice for iOS and once more in openFrameworks, but I’m longing to start fresh, and I’m curious how far I’ll get with Swift before cursing its cumbersome syntax when all I want is a raw pointer.
It being the official day of starting new habits, why not do it in the open? So where do we begin? Let’s schematize the pieces parts. At minimum, we’ll need:
- An audio source
- A granulation engine
- Controls
Not to be confused with the aforementioned source node, the source will be the audio we’d like to granulate. The simplest option is probably just loading a file from our bundle. Later we can consider recording and live inputs, and we can peruse AudioBus docs and groan, but the grain engine is the most interesting part here, and it’s where Swift performance will really matter, so let’s solve the source problem in the simplest way for now, and get right into the meat. If it turns out the Swift approach fails, we’d like to learn that as early as possible.
To load a file from disk, we’ll want to use AVAudioFile, and to get at its bits we’ll need to read its contents into an AVAudioPCMBuffer.
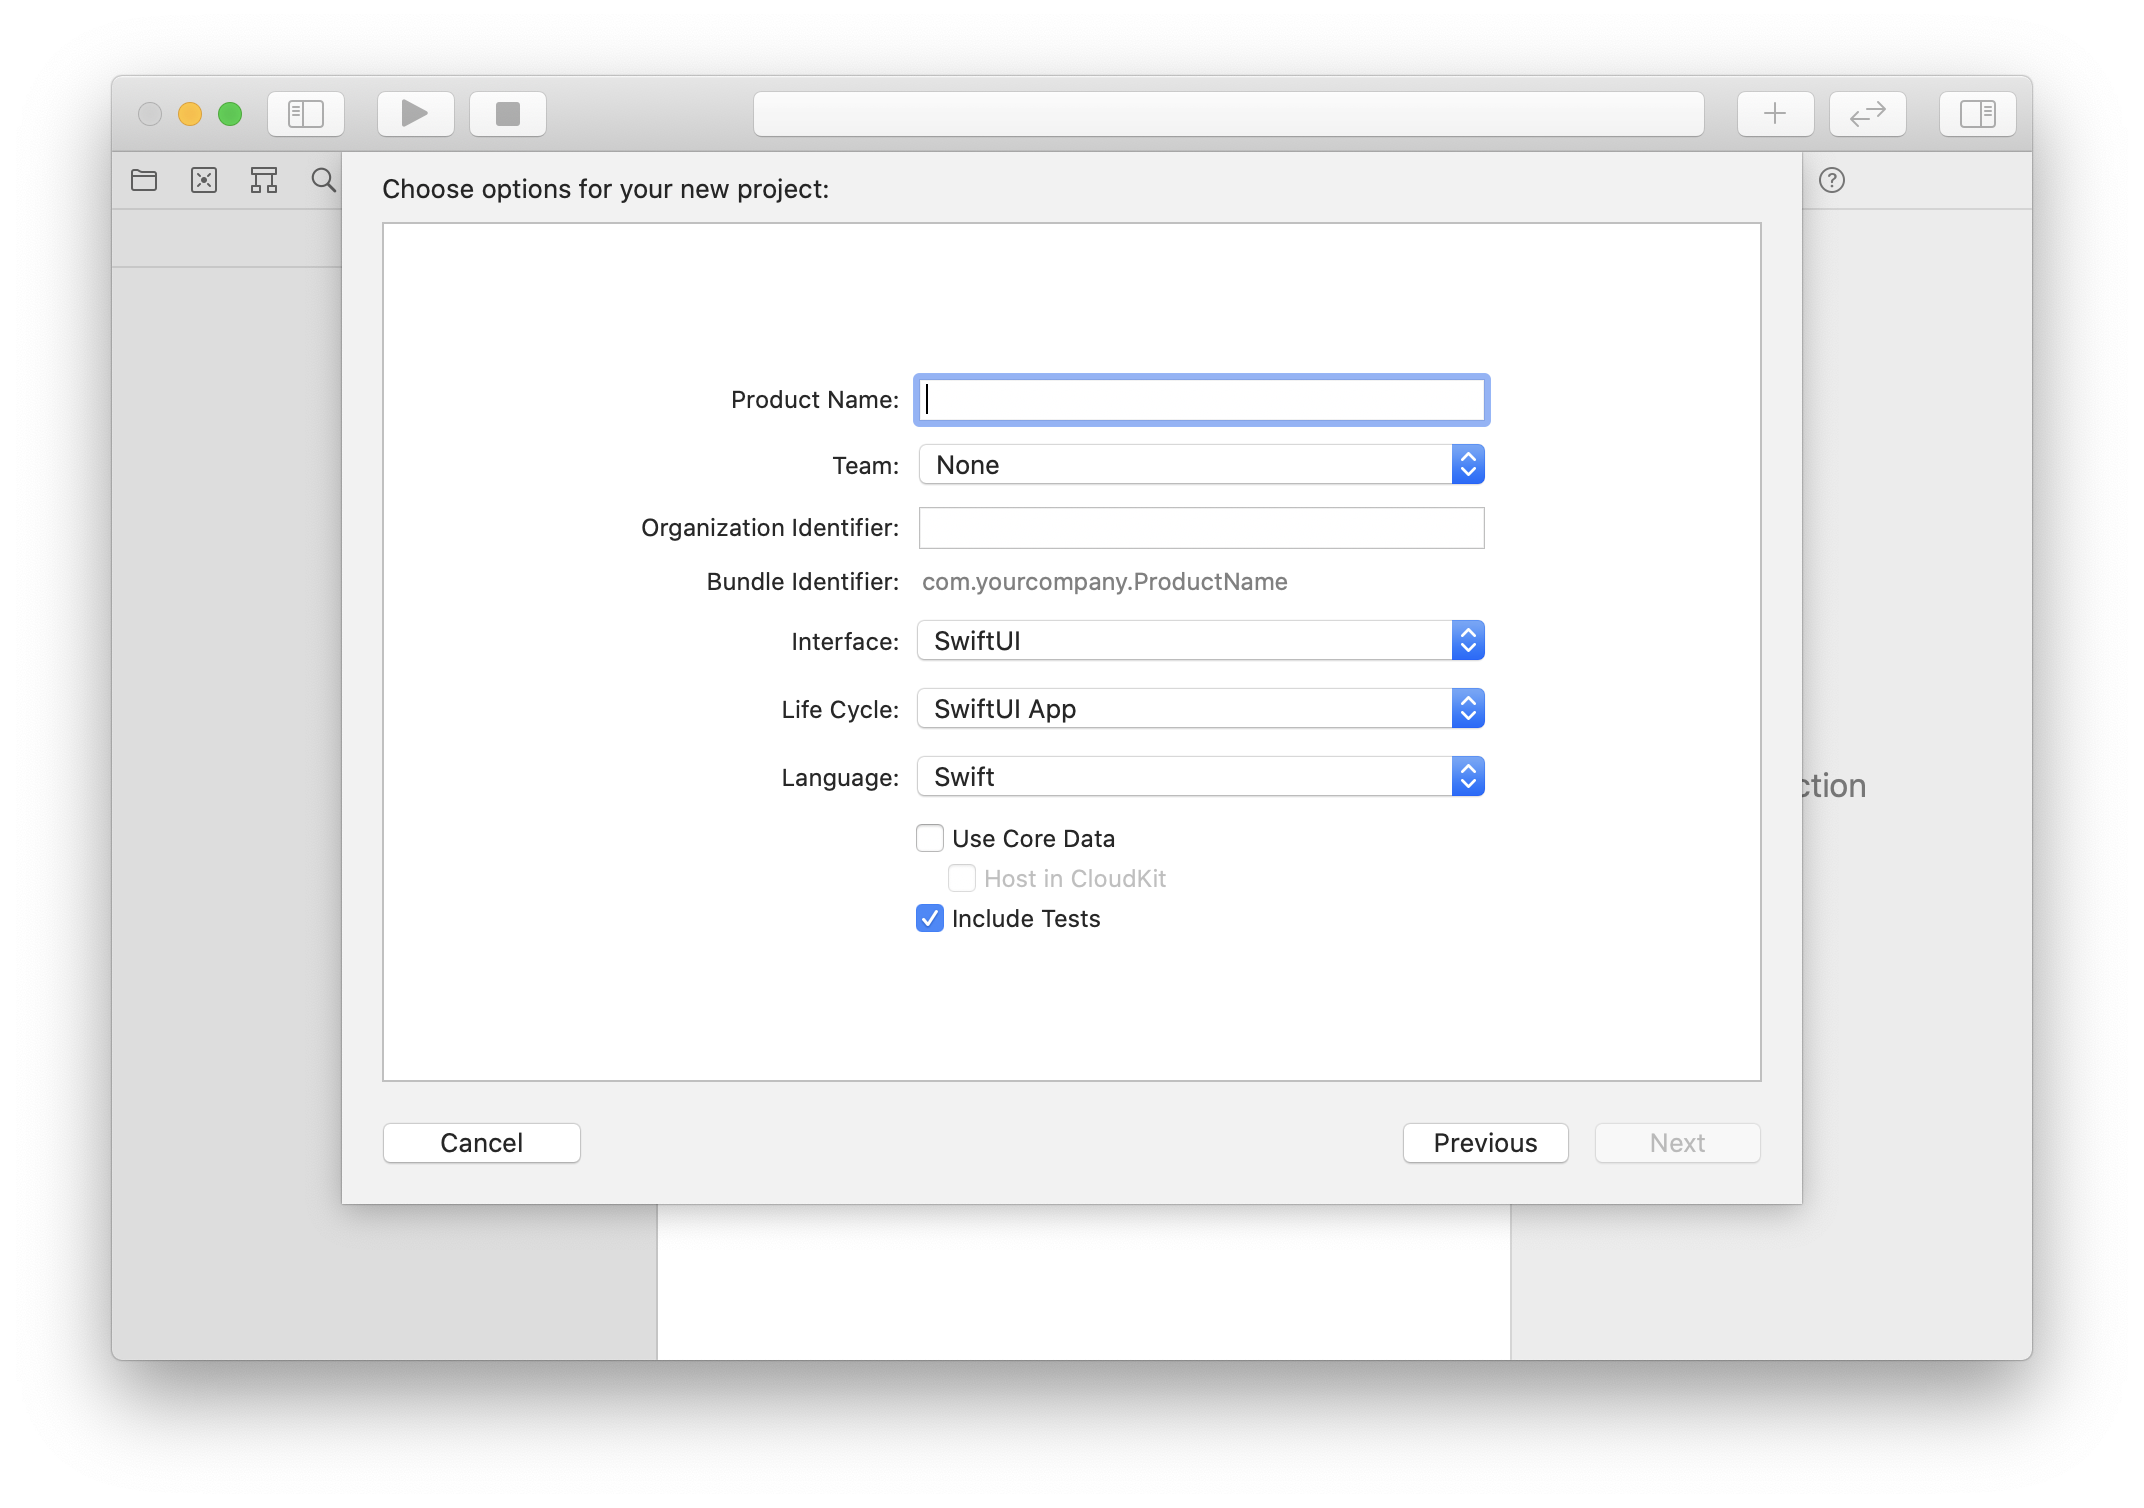
Let’s start with a fresh project in Xcode, perhaps choosing the App option. And what have we here? A new(ish) Interface and Life Cycle option: SwiftUI! Maybe it’s time to dive in. Assuredly an unwise detour, but let’s see what this baby can do?
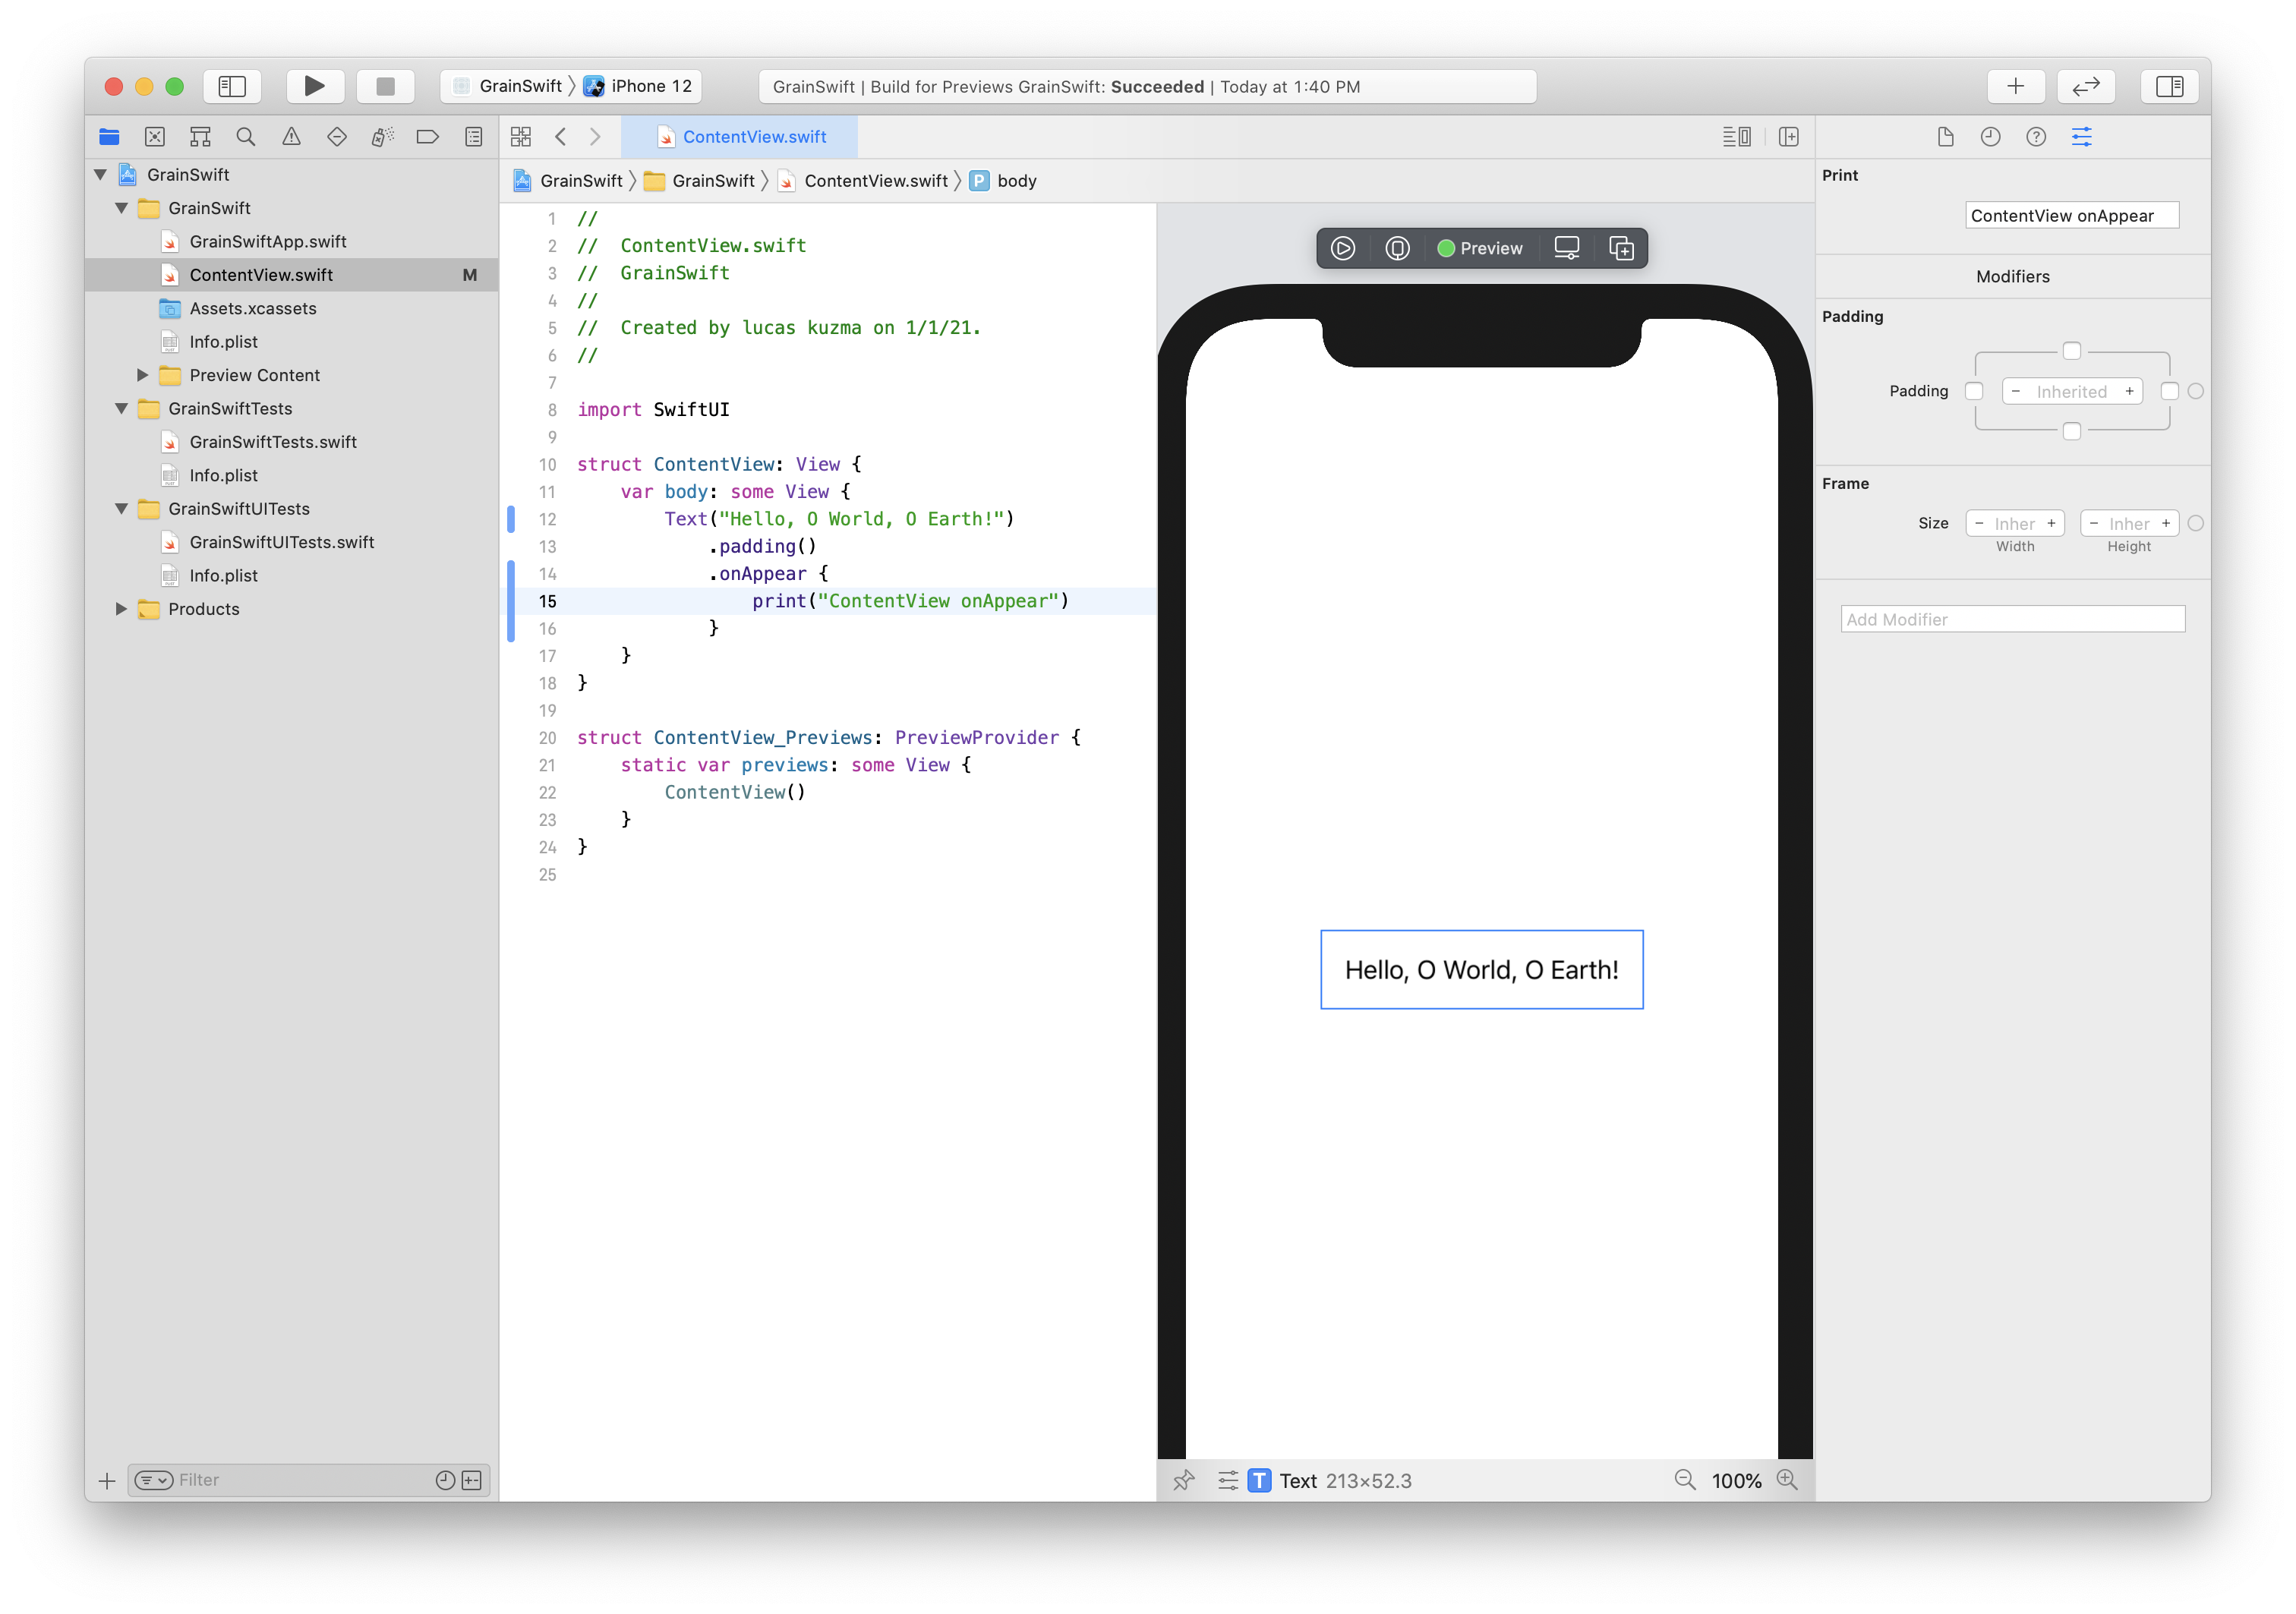
To trigger the file load, we need to hook in somewhere, and quick search suggests adding .onAppear to the ContentView provided by the boilerplate app. Pressing preview gives us several minutes of spinner in the right pane, but in the end, voila, Hello, O World, O Earth!
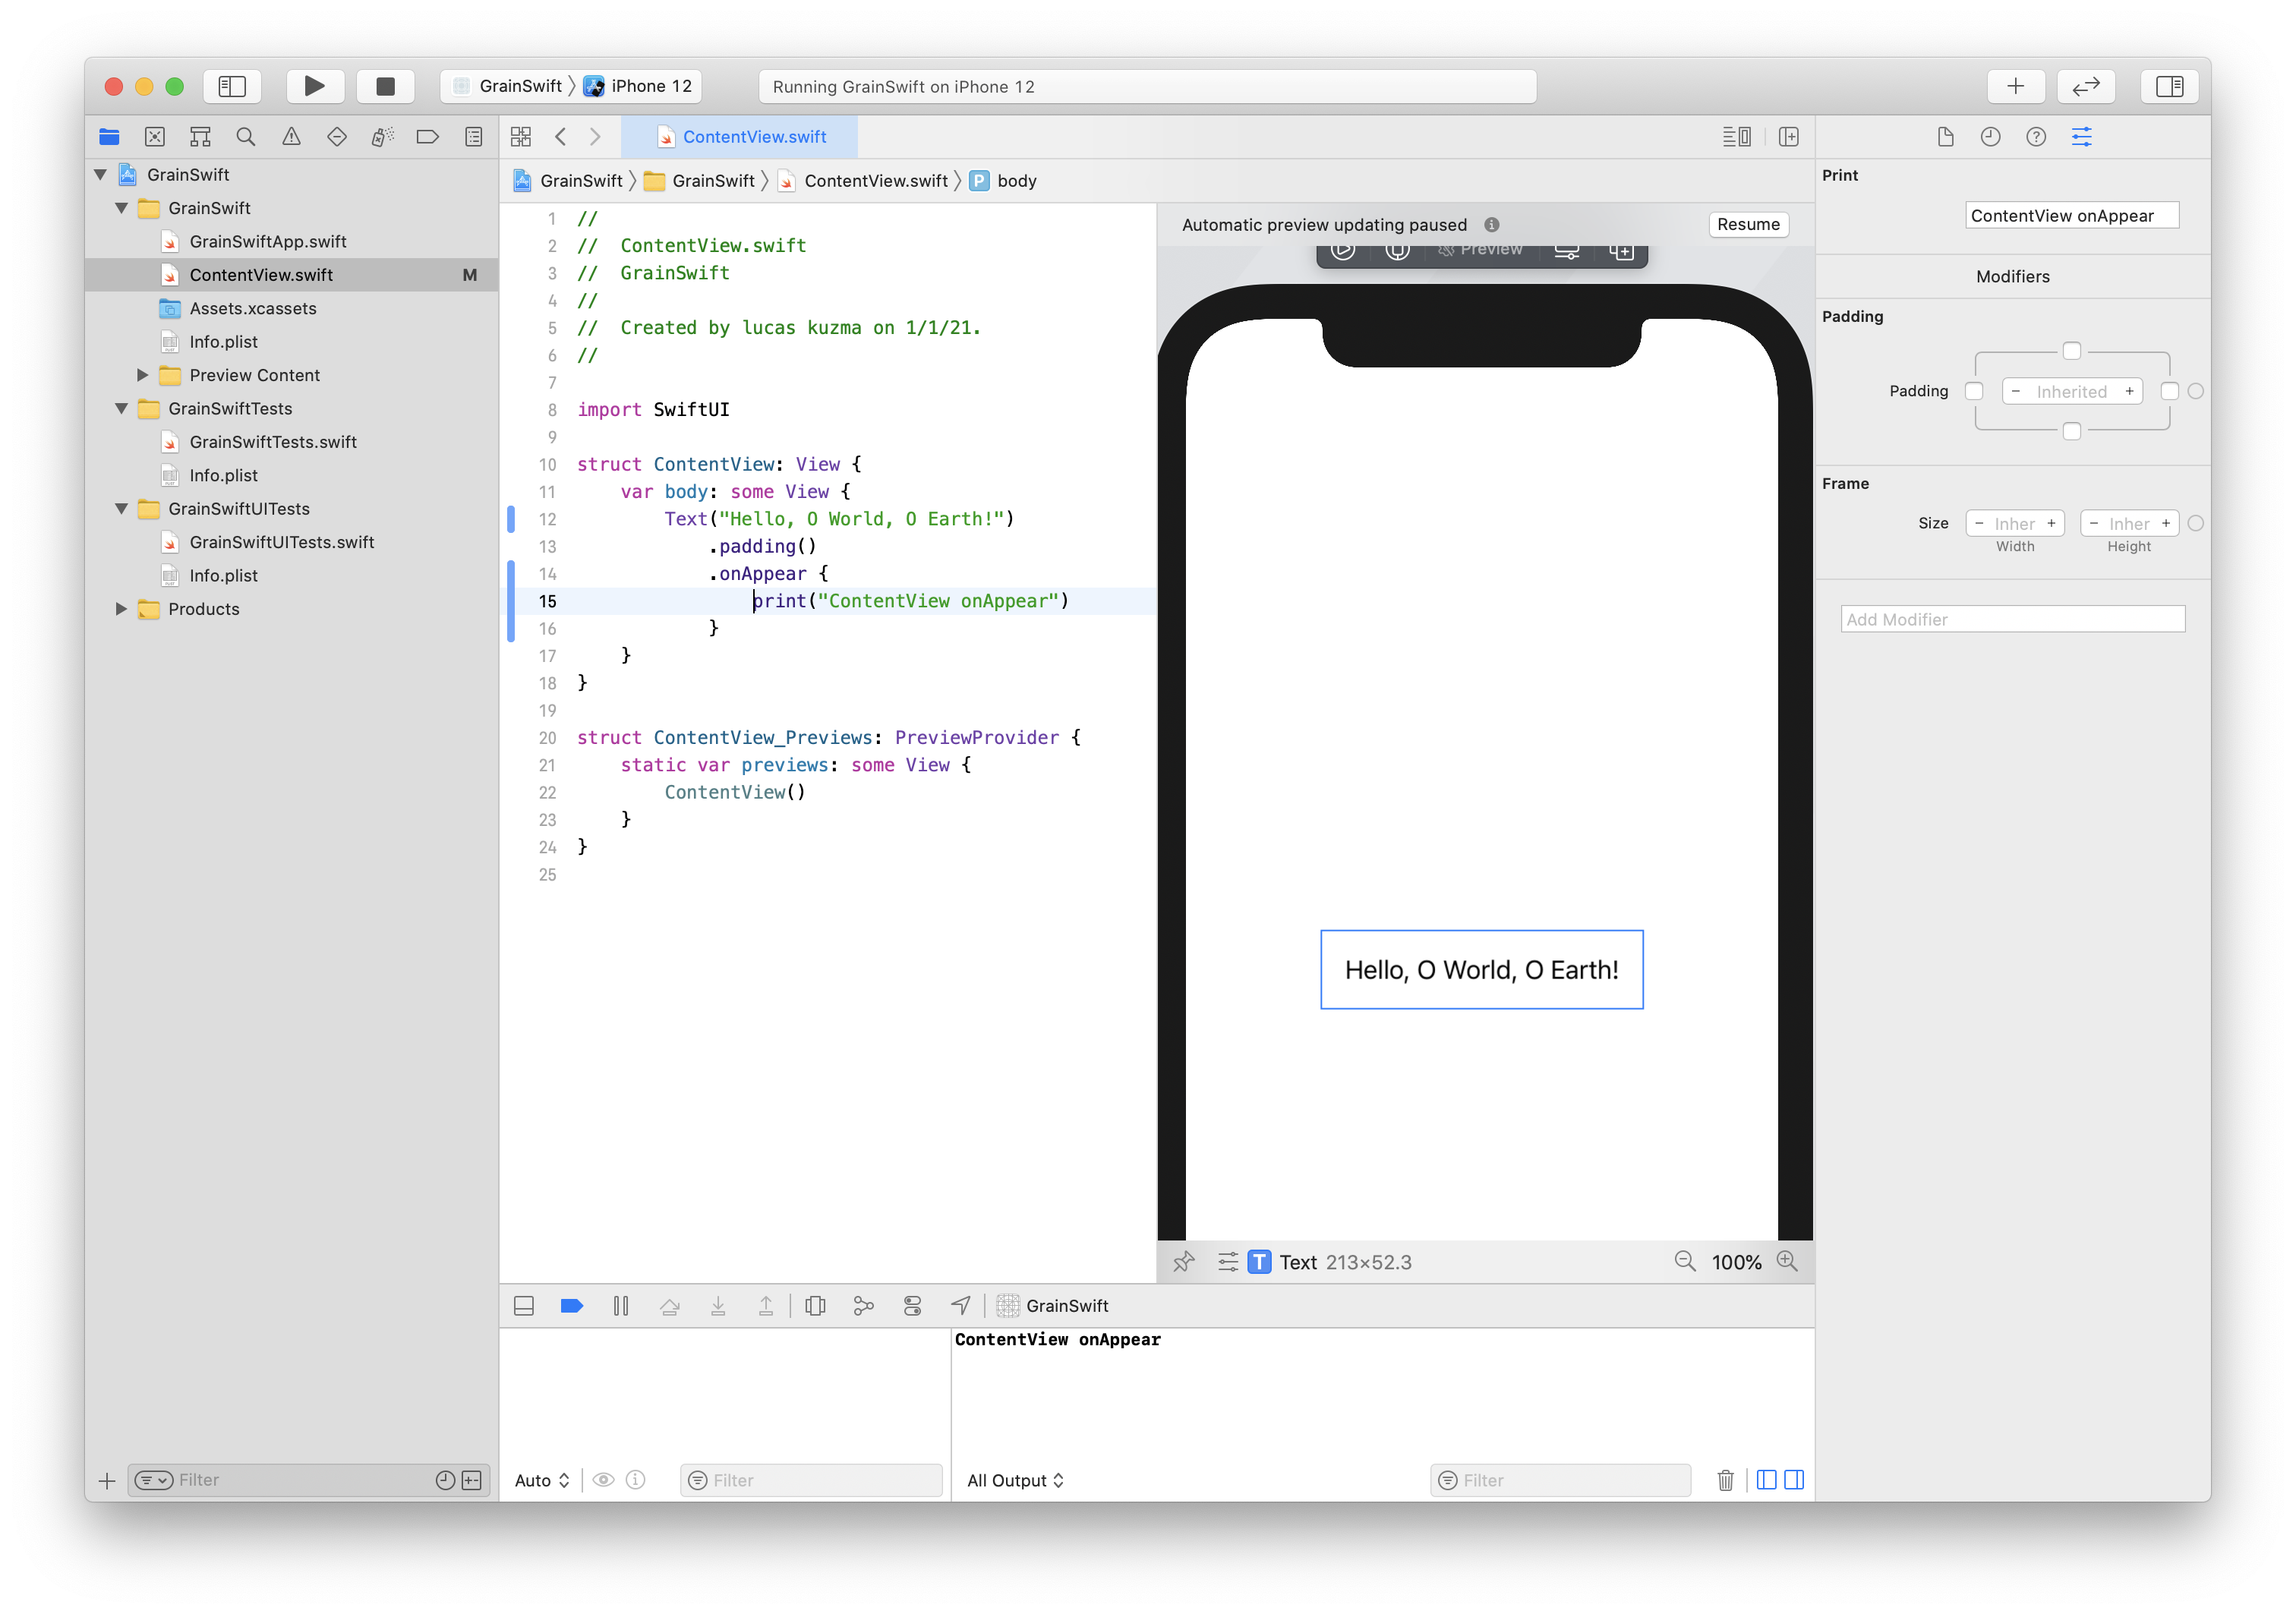
No sign of .onAppear getting called though. Heavens, this is not a SwiftUI tutorial. Better to hit run and go take a nice hot bath while the simulator launches and loads a big blank screen. Stopping the app and running it again about 3 or 4 times, finally shows our lovely SwiftUI. Have we, dear reader, made a big mistake? But finally .onAppear seems to fire!
We can quickly add drag a test file to our project, and see if it loads.
struct ContentView: View {
    var body: some View {
        Text("Hello, O World, O Earth!")
            .padding()
            .onAppear {
                if let audioFileUrl = Bundle.main.url(forResource: "test", withExtension: "wav") {
                    let audioFile:AVAudioFile? = try! AVAudioFile(forReading: audioFileUrl)
                    print("opened a file with sample rate: \(audioFile?.fileFormat.sampleRate ?? 0.0)")
                }
            }
    }
}
Success. Maybe this is a good time to make a commit and post this project as a starting point.