Automatic Music Videos II
An earlier post explored using ffmpeg to generate an audio spectrum and use the result to guide Stable Diffusion.
In this post we will try using ControlNet to improve on our previous results. We would like the image to look a bit less like an audio spectrum visualizer, and we would also like to achieve more smoothness between frames.
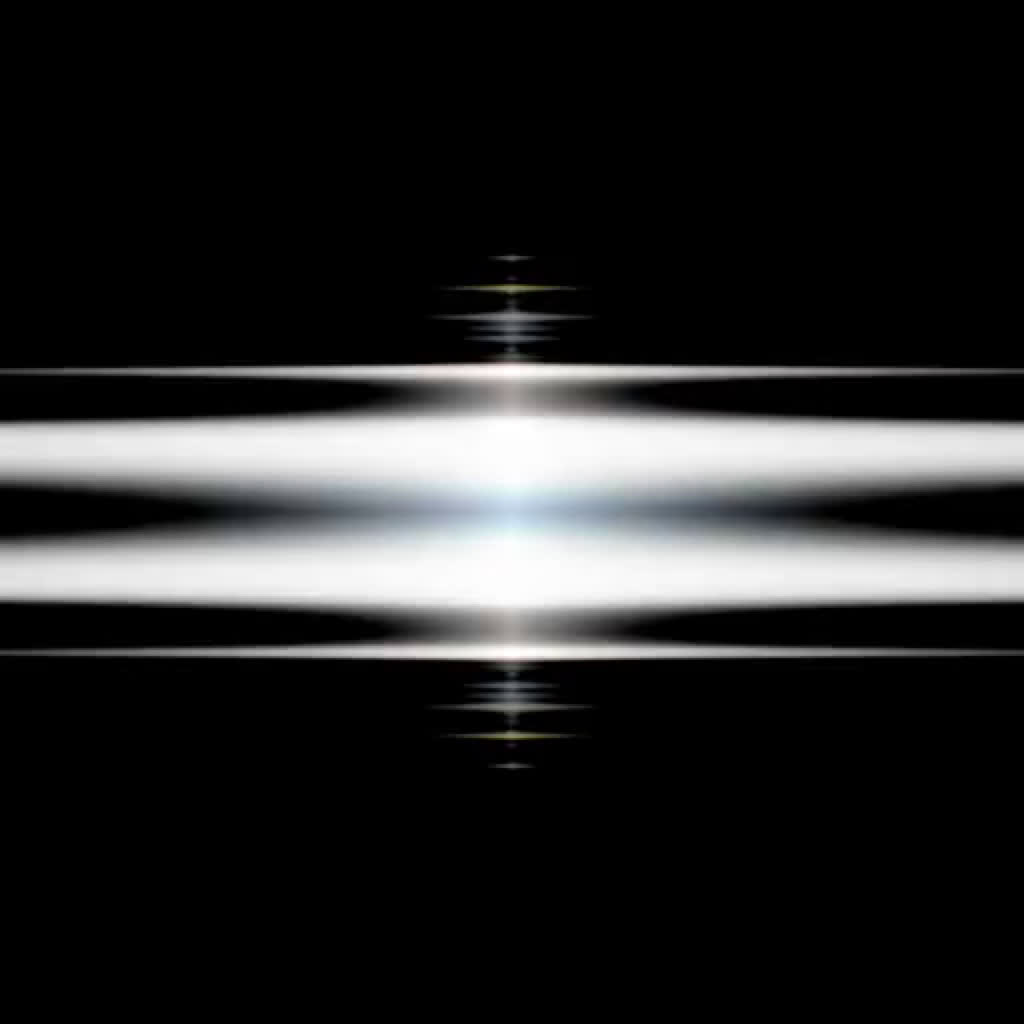
First let’s generate an audio spectrum from our source audio.
# only freq bars, no rolling spectrum (using bar_h)
ffmpeg -i input.wav -filter_complex \
"[0:a]showcqt=s=512x512:r=30:axis=0:bar_h=512,format=yuv420p[v]" \
-map "[v]" -map 0:a cqt_full.mp4

# rotate 90º
ffmpeg -i cqt_full.mp4 -vf "transpose=2" cqt_full_cc.mp4

# create a mosaic
ffmpeg \
	-i cqt_full_cc.mp4 \
	-filter_complex " \
		nullsrc=size=512x512:rate=15 [base]; \
		[0:v] setpts=PTS-STARTPTS, scale=256x256 [upperleft]; \
		[0:v] setpts=PTS-STARTPTS, scale=256x256 [upperright]; \
		[0:v] setpts=PTS-STARTPTS, scale=256x256 [lowerleft]; \
		[0:v] setpts=PTS-STARTPTS, scale=256x256 [lowerright]; \
		[upperright]hflip[upperright]; \
		[lowerright]hflip[lowerright]; \
		[lowerright]vflip[lowerright]; \
		[lowerleft]vflip[lowerleft]; \
		[base][upperleft] overlay=shortest=1 [tmp1]; \
		[tmp1][upperright] overlay=shortest=1:x=256 [tmp2]; \
		[tmp2][lowerleft] overlay=shortest=1:y=256 [tmp3]; \
		[tmp3][lowerright] overlay=shortest=1:x=256:y=256 \
	" \
	-c:v libx264 mosaic.mp4

# make a folder for PNGs
mkdir mosaic

# turn mirrored video into frames
ffmpeg -i mosaic.mp4 mosaic/%04d.png
Note the rate=15 in the mosaic command above. We generate our mosaic at only 15 fps, so we can add interpolation as a final smoothing step later. The output here is a bit more complex than before, with the original spectrum mirrored and tiled.
Instead of using an interpolation model like FILM or FLAVR, here we opted to simply blend the source frame with the previous frame over time.
# blend current source with previous
blend = Image.blend(source, last_blend, .9) if last_blend is not None else source
last_blend = blend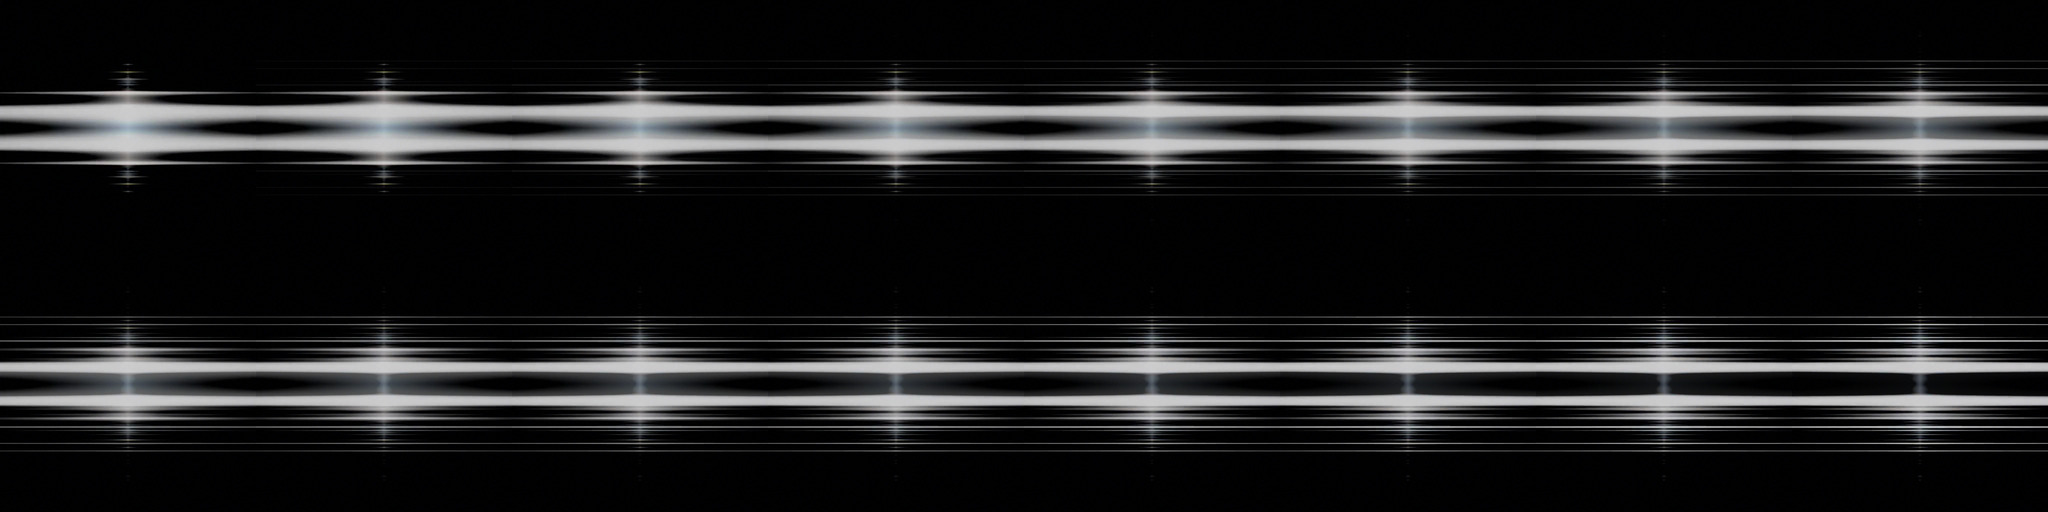
The result is actually far smoother than when we used a model. So now our diffused results are far less flickery. We still want the source image to match the beat, so we reset the blending every 20 frames. This can be jarring, but hopefully consistency on the ControlNet side can help.
# clear blend every n frames
if j % 20 == 0:
    last_blend = None
On the ControlNet side, we initially tried using the spectrum with the depth model. The plan was to hold the control frame still for, say, 10 or 20 frames while updating the img2img source. This gave us consistency between frames, but the results looked too much like the initial spectrum.
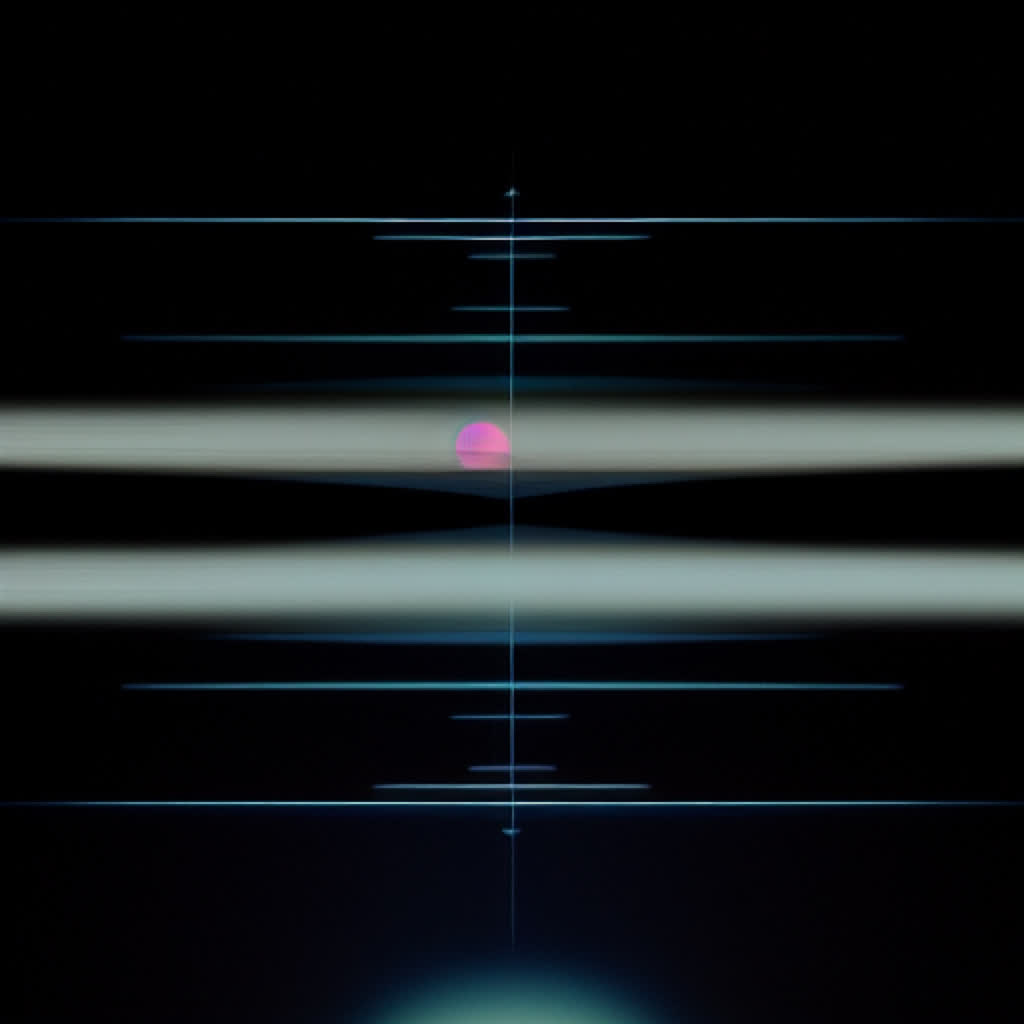
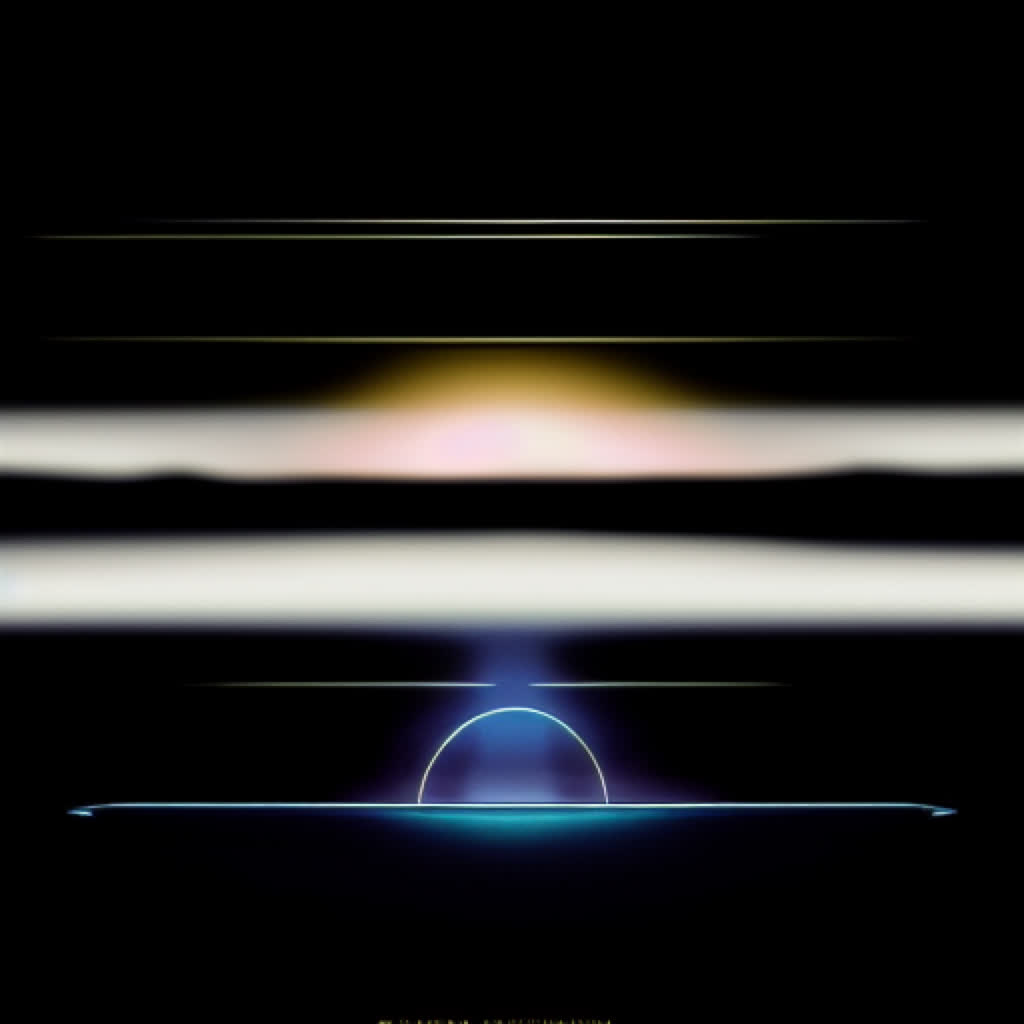
Turning down the control weight would of course yield more varied results, but this was always at the cost of consistency. We also blended in some film grain over the original spectrum image. The grain was static between frames so it did not contribute flicker, but it did tend to add richness to the images. Below are two samples, without ControlNet.
No grain, no ControlNet

Added grain, no ControlNet
We also tried inverting the spectrum imagery for a brighter looks. After hundreds of images, bright or dark, the results still looked too much like our spectral lines.

A critical insight was to completely divorce the control image from the source. We whipped up some symmetrical face images with Stable Diffusion, and tried using these as source and as control. Finally the images got interesting! They also remained consistent, a win on both fronts. In fact the results are so buttery smooth, that we probably did not need to run the initial output at 15 fps for later blending, something we should revisit.
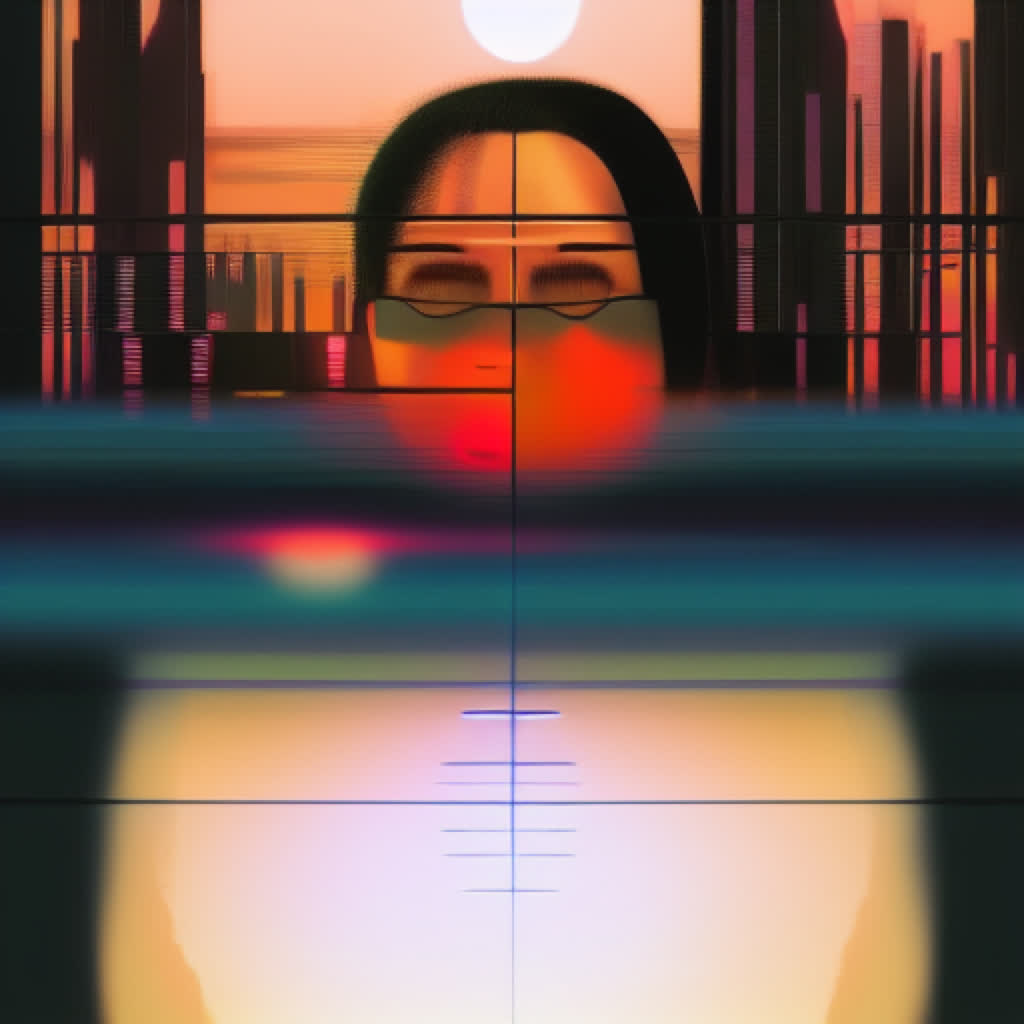
Spectrum as control source
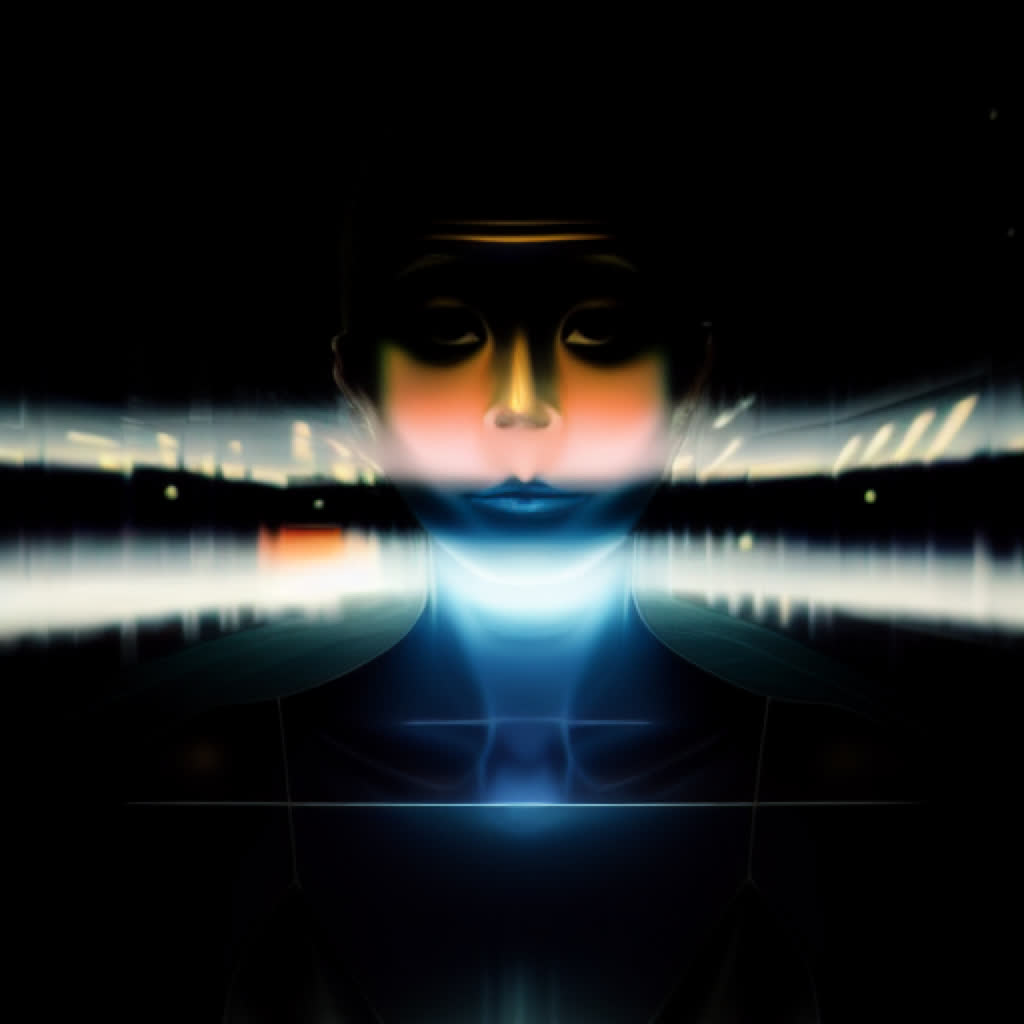
Arbitrary face as control source
Using the face as a depth control (raw, no depth preprocessing!) yields a great mix and gets us away from the horizontal lines plaguing our earlier attempts. Blending the input frames gives much smoother results than those achieved with interpolation. It also liberates us from the tyranny of powers of two.

Finally, we try blending the control images. The start control transitions are nice when synchronized to the music, but we will go for a smoother look. Also, we generate this at 30 fps instead of the 15 above. Finally, we add 20% film grain to the source image.
Below is our consolidated final output after being run through After Effects, adding a touch of glow, chromatic aberration, and brightness. In this video we show a variety of blending techniques, both on the source image and the ControlNet side.